Saturday 9 March 2013

ARTIST FOR THE MONTH OF MARCH

I forgot to share some great & amazing news, I was asked by a wonderful women named Stacie if  I would be her artist for the month of march via her wonderful web sight  , I agreed & this is where you can find  it.....
HERE! Thanks so much Stacie, so rock on over to her web sight & check her out, she makes  awesome jewellery & runs some great online workshops as well.

another scrappy layout

I think this layout speaks for itself enjoy!!!


 BAM!there it is!!!!!


Another layout

This is the opposite side of our envelope of our last layout we did, for this particular layout I used a DCWV 8x8 paper stack,some alpha stickers wooden stars of coordinating  colours.firstly I prepared all of my elements.I cut two of each designer paper into 1 inch strips , cut a triangle out of each end creating a double ended flag .I have added some splashes or blotches on my layout page using the ranger distress stain this can also be achieved with a dauber & acrylic paint, using a honey comb stencil I sprayed with dylusions spray creating a honey comb affect to our main layout hence d creating our based layout.
 Here are the elements for our layout ready to start the first stage of our layout
 firstly lay your double sided flag strips until your happy with the look, to achieve this particular look I laid three different strips under each other then laying the two other strips on the two top strips & the bottom two gluing them all down,I'm ready for the next stage
 using double sided tape create a pocket from your desired photo like  so....
 next lay & glue  your photo onto the centre then add  a small tag into your pocket....
 kewl aye for a hidden message,quote & what ever you desire to write .
 add a string to the tag for easy access
 add the triangles you cut from creating your double sided flags both  top & bottom,add your words as well & lastly your wooden stars.....
 then hey presto.....how easy was that!!!!!


Layout Easy Peasy

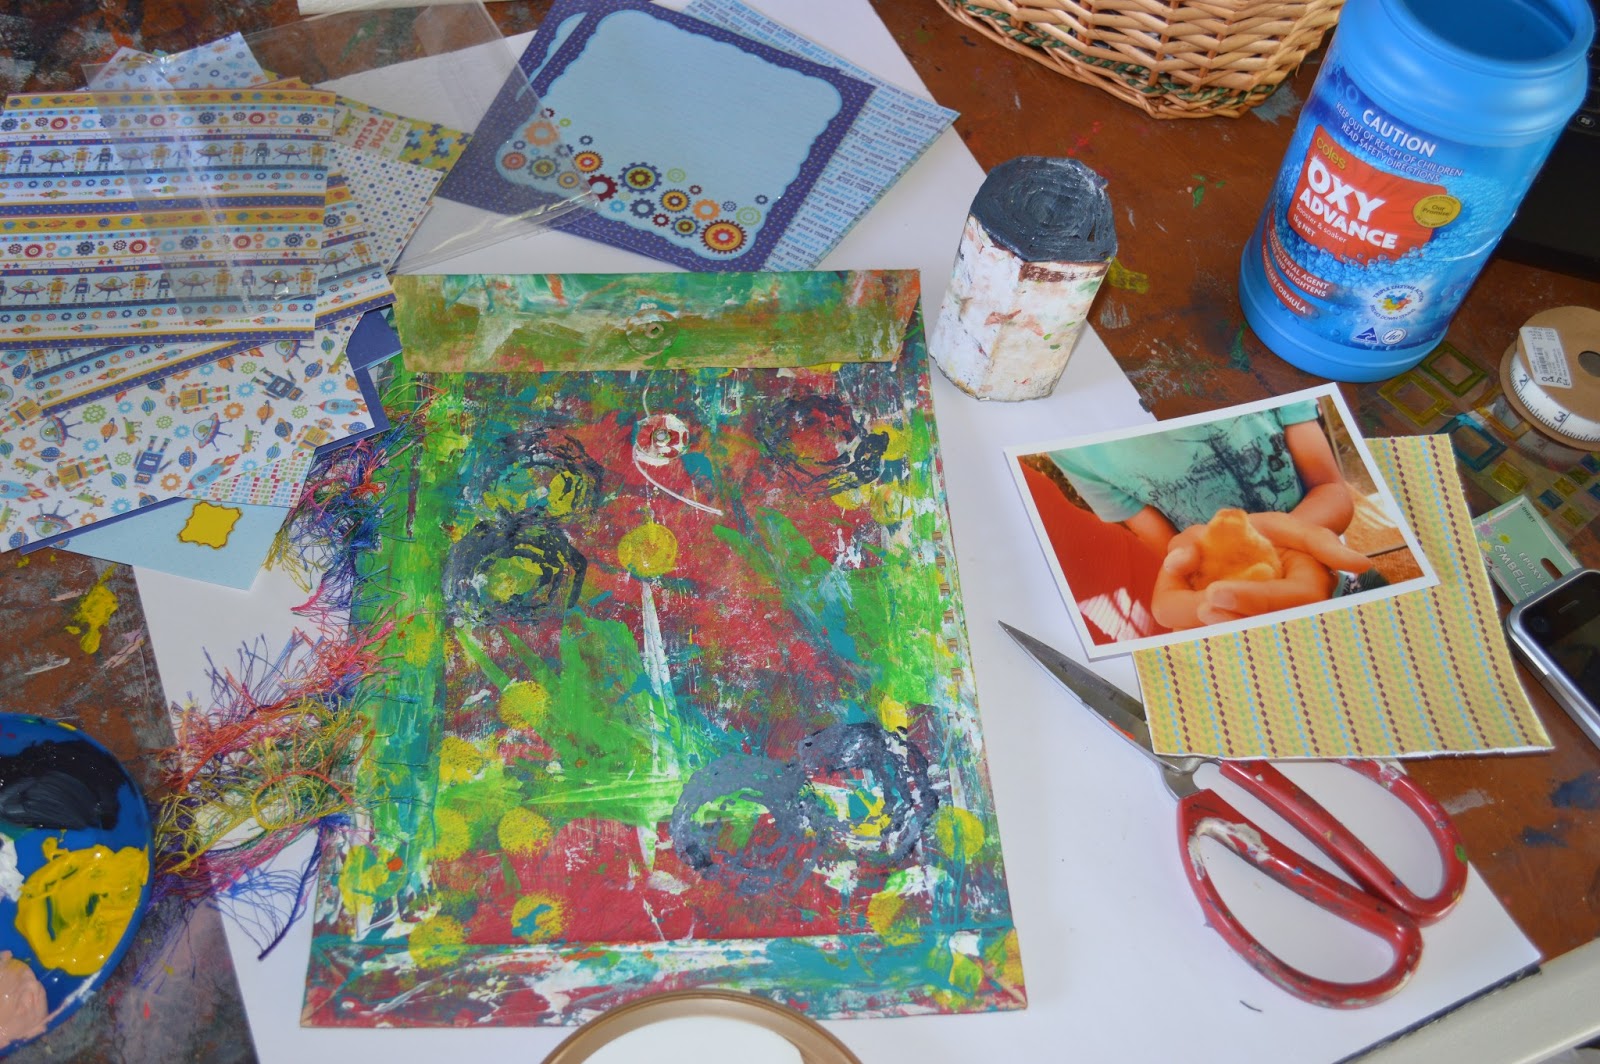
Using my hand painted envelope mixed media ready to use of different various sizes,I'm gonna pimp this page so I want to share this layout with you & it is easy  peasy. You will need  scissors,glue stik,another stronger glue,designer papers of your choosing,a tp roll,a mixture of runny white acrylic paint,a photo of your choice ,a journaling pen & embellishments of you choice.

 here are some of the elements I have  ready for this particular layout,I am using  a 6x6 stack of designer papers.
 dip the toilet roll into your mixture of runny white acrylic paint & do some random circles don't dip it in all the time stamp one or twice to get the non solid circles,do as many to your desire & let it dry.
 rip randomly one of your 6x6 papers in half ,make a little flag & using white  scrap piece of paper make another to fit inside,pending on the size of your layout cut some rectangular pieces of water colour paper a strip of another designer paper,some wooden stars,make sure you ink the ripped edges& put all your elements together to create this fun & easy layout.
 lay down your to ripped halves first,then your photo,lay the strip of designer paper on the bottom of the photo,gluing all your elements down firmly add your flag under the strip of paper & lastly add you water paper for journaling prompts & your wooden stars & Tadaaaaaa........... to easy.


How to frame tutorial......

lets get right into it,
right what you will need for this little project is a frame,remove the glass & the back from the frame.this particular frame had a broken glass.

 with a hook screw you should be able to screw some holes,I've drilled them the same size as a ordinary ring binder folder
once you have made the holes screw 2x hook screws into the holes till tight & using a pear of pliers close the gaps of the screw hooks as close as you can
 turn your frame around front facing down

 you will need a staple gun & some strong string  & staple the string to the frame as per picture

 this is how it should look
 turn your frame around back facing down this time a tadaaa.....you have a fantastic place for some photo's messages etc .
 I have used two large clips & one loo people figure to hold the  photos in place
 add some  words
 ribbon
 & stickers
 & Tadaaaaa all done,all these animal are able to be removed for different look
here it is in the folder, I have also add a small tag.A very easy project for those broken frames that need a new lease of life.


Frida Khalo Love 💕